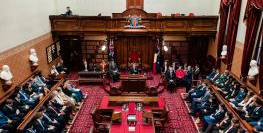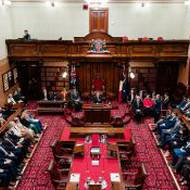
100’s of NSW’s young leaders step into Parliament for 25-year milestone
One hundred young people from across the state will take their seats inside NSW Parliament this week to debate Bills on some of the biggest issues facing their generation.
Read more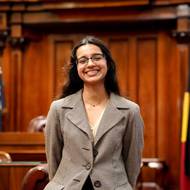
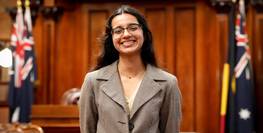
Lian's journey from Youth Parliamentarian to Y NSW intern
From Youth Parliament participant to Youth Governor, volunteer and Y NSW intern, Lian has discovered the power of advocacy, leadership and representation, using her voice to create change and empower other young people.
Read more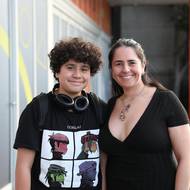
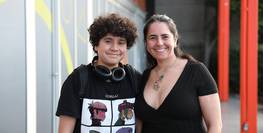
Empowered by Alternative Suspension: Keanu's Story
For Keanu and mum Narelle, the Y NSW's Alternative Suspension program has offered an opportunity for the teenager to be truly seen. Since participating in the program at Y Space Western Sydney, the 14-year-old has developed confidence and self-awareness.
Read more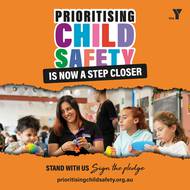
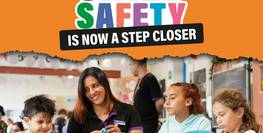
The Y NSW welcomes Inquiry recommendation backing child safety
As a proud not-for-profit provider of outside school hours care (OSHC), the Y NSW has welcomed a key recommendation from a NSW Upper House Committee inquiry report on the Early Childhood Education and Care Sector, saying it reinforces the need to prioritise child safety in OSHC.
Read more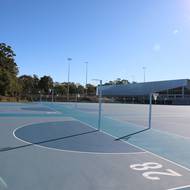
What a day at The Y Bennelong Sports Centre!
On Saturday 9 May, we officially opened the doors to the state of the art, Y Bennelong Sports Centre, with over 2,500 netballers and families joining us throughout the day for the start of the winter netball season.
Read more
A Village of Care: How the Y NSW Supports Defence Families
Kerryn Barnes has spent more than two decades serving in the Royal Australian Navy, from commanding patrol boats on Operation Sovereign Borders to representing Australian interests across Southeast Asia and the Southwest Pacific. This year she has been posted to Canberra, meaning she can only come home on weekends, leaving wife Stacey to hold the fort with their son Josh, 8, who attends Y Hammondville Outside School Hours Care.
Read more
The Y NSW Support Youth Justice Inquiry Hearing
Thank you to the Parliament of NSW’s Select Committee on Youth Justice for inviting us to give evidence today at a hearing of the Inquiry into Youth Justice.
Read more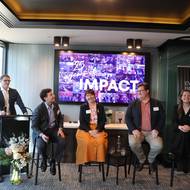
Celebrating 25 Years Of Australia's Most Inclusive Youth Leadership Program
For 25 years, The Y NSW’s Youth Parliament program has been inspiring young people across New South Wales to raise their voices, engage with democracy, and influence the issues that matter most to them.
Read more
The Y NSW Calls For Stronger Safeguards In Outside School Hours Care
The Y NSW has launched Prioritising Child Safety, a statewide advocacy campaign calling for policy reform in outside school hours care (OSHC) services to deliver stronger safeguards and consistent supervision standards that put children’s safety and wellbeing first.
Read more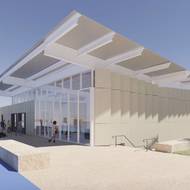
The Y has been appointed operator of the new West Ryde Community Multi-Sports Facility
We are pleased to share that The Y NSW has been appointed by the NSW Department of Education as the operator of the new West Ryde Community Multi-Sports Facility.
Read more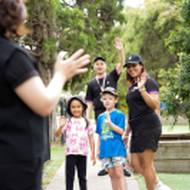
The Y NSW welcomes the recent release of ACECQA's rapid assessment of child safe practices across the ECEC sector.
The Y NSW welcomes the recent release of ACECQA's rapid assessment of child safe practices across the ECEC sector.
Read more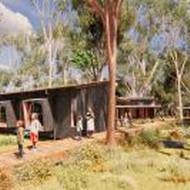
Development Consent Paves The Way For An Adventure For All At Camp Yarramundi
The Y NSW has reached a major milestone in its mission to transform Camp Yarramundi into one of Australia’s most inclusive outdoor education destinations, with Development Consent now officially granted by Hawkesbury City Council.
Read more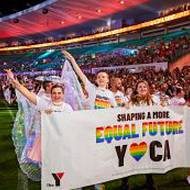
Meet The Marchers: Pride at The Y
This year, The Y will celebrate, “Constellations of Us”. We want to shine the light on the magnetic energy of connection, because when individuals come together, they create something luminous and larger than life.
Read more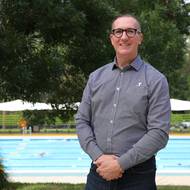
Welcoming Kerry McGoldrick as Chair of the Y NSW Board
We welcome Kerry McGoldrick as Chair of the Y NSW Board. Kerry brings strong governance expertise and commitment to helping children and young people thrive. We thank outgoing Chair Leigh Johns OAM for his dedicated service and enduring support.
Read more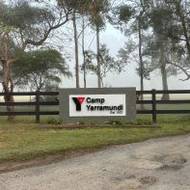
Camp Yarramundi Temporary Closure for Redevelopment
The Y NSW is proud to announce that Camp Yarramundi will undergo a major redevelopment following the approval of a $44 million grant from the NSW Government.
Read more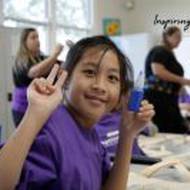
Children before profits – The Y NSW
At the Y NSW, we are calling for stronger safeguards to be implemented in Outside School Hours Care (OSHC) as soon as possible.
Read more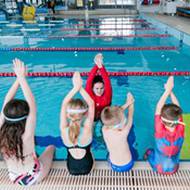
RESEARCH REVEALS 1 IN 10 PRIMARY AGED CHILDREN HAVE NEVER ATTENDED SWIMMING LESSONS – CALL FOR SUMMER ENROLMENTS
The National Drowning Report 2025, published by Royal Life Saving Australia and Surf Life Saving Australia, identified 357 drowning deaths in the past year, which was 27% higher than the 10-year average.
Read more
Penrith’s Future Gets a Boost with New Y Community Hub
The Y NSW (formerly YMCA) is deepening its commitment to Western Sydney with the Official Opening of a new Community Hub in Penrith this week, a vibrant space designed to inspire, connect and empower its local people.
Read more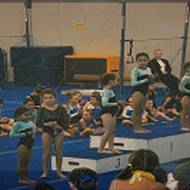
From Competition to a Career with the Y
Jessica Mavridis has come full circle with the Y – from student, competitive gymnast and mentee, to coach, gymnastics coordinator and role model for a new generation of young gymnasts.
Read more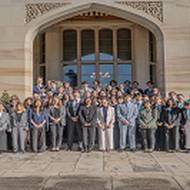
Youth Parliament 2025 – Highlights
The 2025 Youth Parliament program brought together passionate young people from across NSW to debate, discuss, and drive change on the issues that matter most to them.
Read more